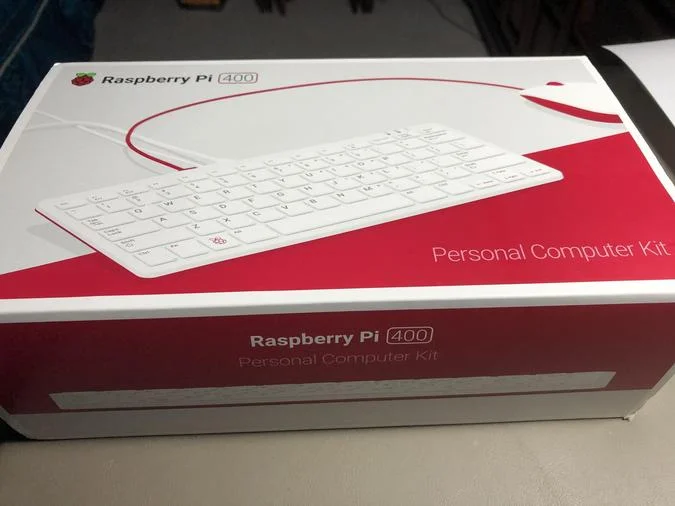
The Raspberry Pi 400 promises to be a boon to the homeschool market. In addition to providing an easy-to-assemble workstation that comes loaded with free software, the Pi 400 also serves as a surprisingly effective videoconferencing platform. I ordered a Pi 400 from CanaKit late last year and was eager to explore this capability.
Easy setup
After unboxing my Pi 400, which came in this lovely package, the setup was quick and easy.
(Don Watkins, CC BY-SA 4.0)
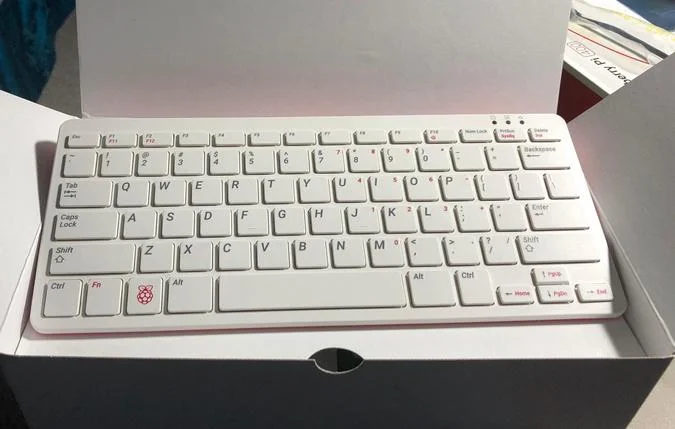
The Pi 400 reminds me of the old Commodore 64. The keyboard and CPU are in one form factor.
(Don Watkins, CC BY-SA 4.0)
The matching keyboard and mouse make this little unit both aesthetically and ergonomically appealing.
Unlike earlier versions of the Raspberry Pi, there are not many parts to assemble. I connected the mouse, power supply, and micro HDMI cable to the back of the unit.
The ports on the back of the keyboard are where things get interesting.
(Don Watkins, CC BY-SA 4.0)
From left to right, the ports are:
- 40-pin GPIO
- MicroSD: a microSD card is the main hard drive, and it comes with a microSD card in the slot, ready for startup
- Two micro HDMI ports
- USB-C port for power
- Two USB 3.0 ports and one USB 2.0 port for the mouse
- Gigabit Ethernet port
The CPU is a Broadcom 1.8GHz 64-bit quad-core ARMv8 CPU, overclocked to make it even faster than the Raspberry Pi 4's processor.
My unit came with 4GB RAM and a stock 16GB microSD card with Raspberry Pi OS installed and ready to boot up for the first time.
Evaluating the software and user experience
The Raspberry Pi Foundation continually improves its software. Raspberry Pi OS has various wizards to make setup easier, including ones for keyboard layout, WiFi settings, and so on.
The software included on the microSD card was the August 2020 Raspberry Pi OS release. After initial startup and setup, I connected a Logitech C270 webcam (which I regularly use with my other Linux computers) to one of the USB 3.0 ports.
The operating system recognized the Logitech webcam, but I could not get the microphone to work with Jitsi. I solved this problem by updating to the latest Raspberry Pi OS release with Linux Kernel version 5.4. This OS version includes many important features that I love, like an updated Chromium browser and Pulse Audio, which solved my webcam audio woes. I can use open source videoconferencing sites, like Jitsi, and common proprietary ones, like Google Hangouts, for video calls, but Zoom was entirely unsuccessful.
Learning computing with the Pi
The icing on the cake is the Official Raspberry Pi Beginners Guide, a 245-page book introducing you to your new computer. Packed with informative tutorials, this book hearkens back to the days when technology provided documentation! For the curious mind, this book is a vitally important key to the Pi, which is best when it serves as a gateway to open source computing.
And after you become enchanted with Linux and all that it offers by using the Pi, you'll have months of exploration ahead, thanks to Opensource.com's many Raspberry Pi articles.
I paid US$ 135 for my Raspberry Pi 400 because I added an optional inline power switch and an extra 32GB microSD card. Without those additional components, the unit is US$ 100. It's a steal either way and sure to provide years of fun, fast, and educational computing.


5 Comments