
I am going to show you how I took an everyday, off-the-shelf application and turned it into a cluster-ready juggernaut of persistent usefulness. Along the way, I’ll share the pitfalls that I hit in getting this all working so that you can chuckle at my misfortune and avoid having to make the same mistakes yourself.
This series will run every Tuesday and Thursday until we've accomplished our goals, so stay tuned in, subscribe, and thanks for reading!
Meet “That App You Love”
For this series, the app we’ll be deploying is the popular ZNC IRC bouncer. If your eyes have rolled back into your head at any part of that - “ZNC”, or “IRC” (or maybe “popular” if you are pretty sure IRC is not popular) - don’t let it turn you off to this tutorial. This series is called “That App You Love” because you can take these ideas and apply them to any number of applications to make them available in the cloud. I chose ZNC because:
- I do, actually, love it (in a strictly platonic way)
- Configuring it is extremely simple, which makes for a great sample application.
- A ZNC deployment touches every important concept of containerization and the OpenShift Container Platform in one app.
So every time I say “ZNC”, just mentally switch it to “That App You Love”. As long as that app you love can run from a linux container on a Linux-based host, I think this blog series can be That Blog Series You Love. But hey, one step at a time, right?
First Steps: Copy, Run, Connect
To get started, let’s do a quick test run of our ZNC image.
- To proceed, you will need the docker app installed and running on your system. You can download the Red Hat Container Development Kit (CDK) to get set up with everything you'll need to create and run containers, or head over to docker.com and install the docker CLI.For Fedora users - run:
sudo dnf install docker
and then
sudo systemctl start docker
- Copy the image I created to your local system with the following command:
sudo docker pull nhripps/znc-cluster-app
- Now fire up the image as a background process. (If you are already using port 9999 for something on your system, you’ll need to change 9999 for something else. I am a huge fan of 9998 and think it is an impeccable alternative):
sudo docker run -p 9999:6697 -d --name=znc nhripps/znc-cluster-app
- Next, follow this link to see ZNC running in your web browser (but change the port number to whatever you used if you didn’t use 9999):
https://localhost:9999/ZNC generates its own SSL certificate by default, so you will need to accept the dire security warning on your browser to continue. After that, you should see ZNC’s web console: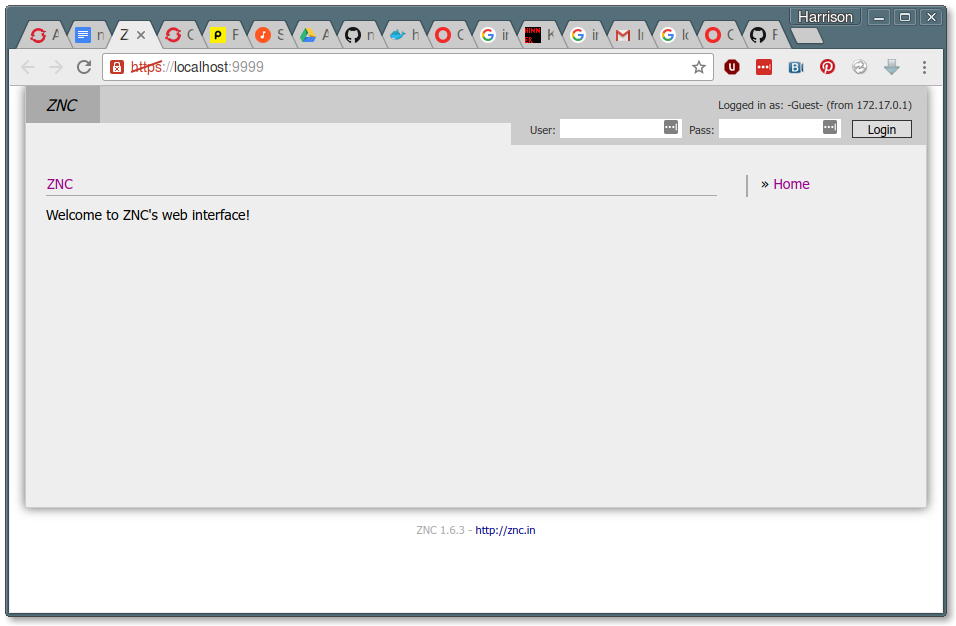
- You can log into the console with username ‘admin’, password ‘admin’, and then navigate to Global Modules => webadmin => Your Settings to start customizing ZNC!

Awesome right?
Alas, not exactly. Any configuration you do will hang around temporarily, but you won’t see it if you just stop and restart the container. You will literally have to create a new image every time you ran it if you wanted that state to persist in the container itself.
And with that, we begin to peel back the layers of the onion that I call:
The Agony of a Stateless World
In no time at all, you’ve gotten the ZNC app up and running in a container on your laptop. This is the awesome power of containers, but as I learned in the process of making ZNC into a first-class cloud citizen, containerizing an app isn’t enough. If it were enough, I probably would have been happy with one of the twenty-six or more ZNC container images that were already publicly available.
Unfortunately, those images are missing some things that I’m going to need if I want to run ZNC securely, statefully, and robustly.
- Securely means that we probably don’t want a password as guessable (and hard-coded) as ‘admin’, and we probably want to use a real SSL certificate instead of a self-signed one.
- Statefully means that when our container dies, we don’t want to lose all of the configuration that we added, or the current state of the application that we want to run.
- Robustly means that if my app container dies, a new one starts up automatically to take over.
So - are you interested to find out how I’m going to take That App You Love and make it into a stateful, secure, cloud-based super-app? In the next post, we’ll tackle our first hurdle in Part 2: Immutable But Flexible - What Settings Matter?
This series will run every Tuesday and Thursday until we've accomplished our goals, so stay tuned in, subscribe, and thanks for reading!
About the Author
Hi there! My name is N. Harrison Ripps, and I am an engineer and people manager on the Containers team at Red Hat. Together with the greater open source community, our team has taken the combination of the docker container format and Google’s Kubernetes orchestration system, and then extended this framework with a number of administrator- and developer-friendly features that we call the OpenShift Container Platform.
Last updated: March 17, 2023